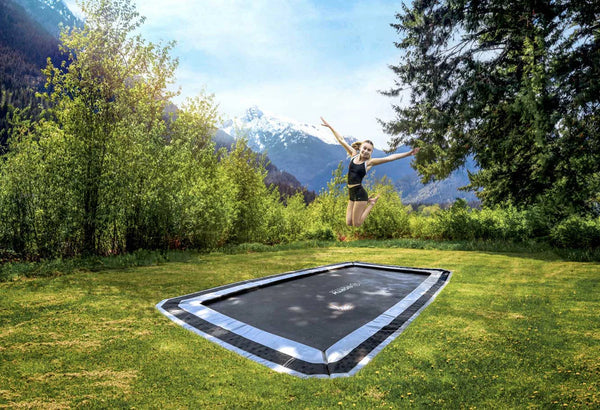
Om du köper en North Inground Trampoline behöver du gräva ut mindre jord.
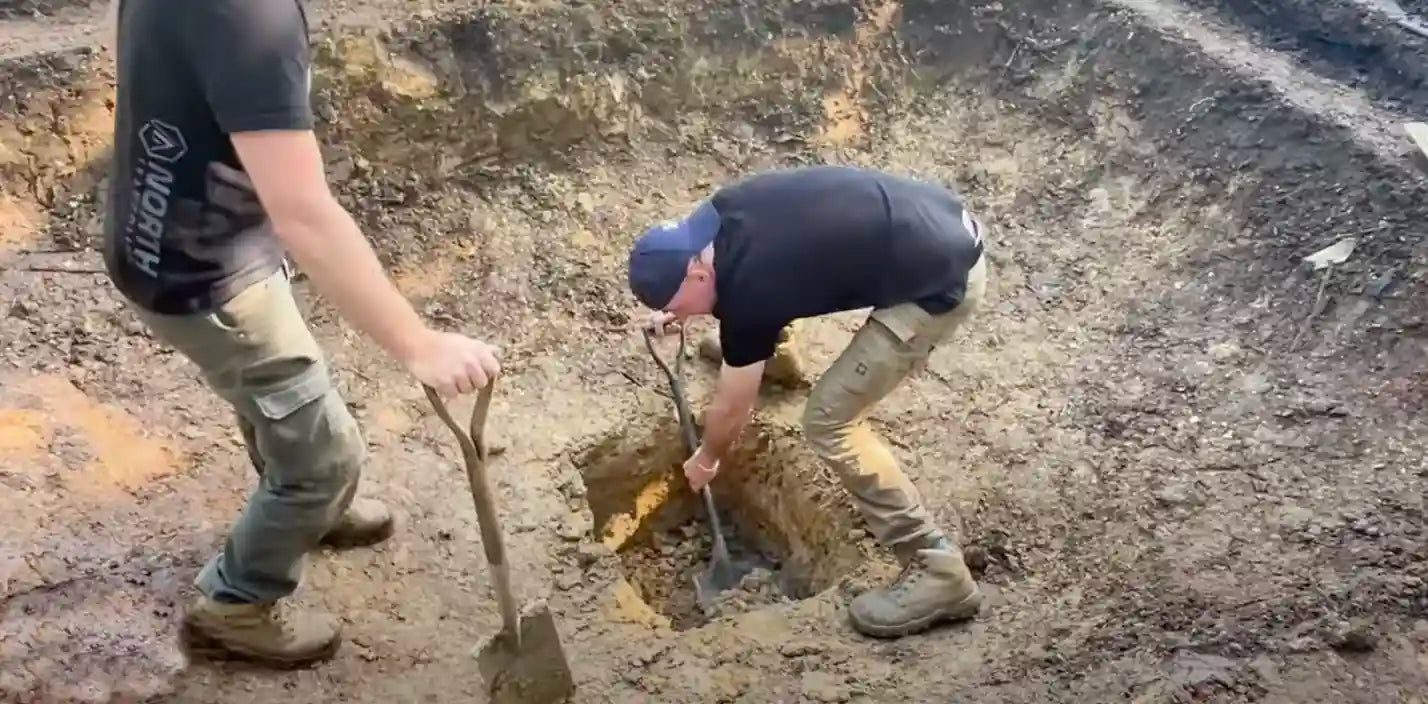
Du kan antingen gräva gropen för hand eller använda en minigrävare. För en mindre studsmatta, till exempel 3 m, är det ganska enkelt att gräva för hand om jorden inte är för hård. Det tar två personer en hel dag – och ger dessutom ett bra träningspass!
Om du däremot har en större grop att gräva, till exempel 4,3 m, kommer en minigrävare att underlätta mycket genom att ta det mesta av jorden, medan du kan avsluta för hand.
Oavsett om du gräver för hand eller använder minigrävare återstår arbetet med bortforsling av jord. Du behöver hyra en container eller ännu bättre anlita en kranbil med grip för att forsla bort jorden.
Många tror att de kan sprida ut jorden i trädgården, t.ex. i rabatter, längs kanter eller bakom skjul. Men jorden expanderar upp till tre gånger när den grävs upp och mängden jord från en trampolingrop är förvånansvärt stor.